what I did
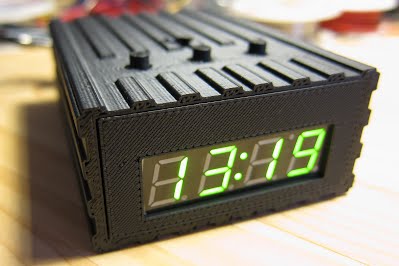
My old alarm clock broke after decades of service. I searched long and hard for a replacement but couldn't find quite what I was looking for. I bought something close but later found the comparatively short snooze time unacceptable. Then I realized that I could just build a new clock from scratch with all of the features I wanted.
goal
- green on black screen
- dim screen at night
- 9 minute snooze
- automatically adjust for daylight savings time
how I did it
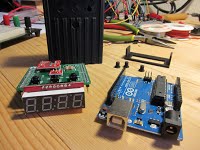
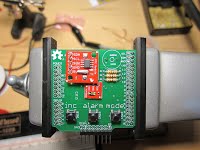
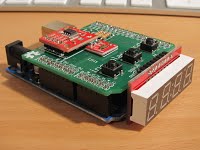
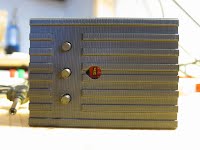
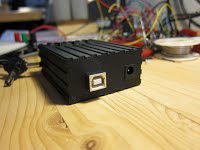
I started with an arduino microcontroller to manage all of the "high-level" functions of the clock. The actual time keeping is managed by a real time clock module and the 7-segment display is on a breakout board which gives me a convenient serial interface. I designed a shield for the arduino to hold all of the components together. The design uses a right angle header to have the display hang off the side of the shield. With everything put together, the clock just needed a small case for protection. 3D printing to the rescue!
I had wanted to have the clock time itself from the NIST clock in Colorado, but sparkfun no longer sells the chip to do that (apparently they are now hard to come by). GPS seemed a little overkill and was unlikely to function well indoors. Since I had access to the USB port on the arduino, I settled for having a computer time the clock and programming the appropriate DST adjustments (easily predictable with the date tracked by the real time clock module).
Having the clock based around a microcontroller resulted in other benefits not originally planned. I was able to add nice touches like confirmation beeps when the alarm is set (useful for those without perfect vision), and a quiet start to the alarm so I can be gently awakened without disturbing my wife. Since none of the buttons are married to their function in hardware; they can each perform different functions for different modes. For example, all of the buttons will snooze the alarm when it is sounding.
improvements for next version
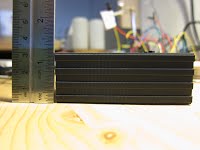
Of course not everything is perfect the first time around. I'm disappointed with the low-light sensitivity of the ambient light sensor so I'd replace that with a plain photoresistor. I also realized that I can change the shield design to sink the battery compartment into the PCB board to make the whole thing a few mm slimmer.
I had originally planned to put all of the chips on the board using headers, but I found that to add unacceptable size to the board. Fortunately I was able to mount most everything very close to the shield on my first try. I also moved the buzzer to the underside of the shield. It's quieter there but it makes the whole clock much smaller.
how to make one yourself
If you've been inspired to build a clock yourself now; here are all of my project materials. You'l find the Eagle, CAD, and source code in an attachment below.
